
Halo, kalau kamu merasa tulisan saya ngebantu kamu, kamu bisa ucapkan terima kasih lewat saweria .
If you feel this website help you, you can donate at saweria .
Akhirnya Belajar Kubernetes Juga
Disini saya asumsikan kamu semua sudah menginstall docker , kubectl & minikube di laptop.
Semoga seri ini bisa bermanfaat buat yang lagi belajar Kubernetes.
Memulai Cluster dengan Command
- Memulai cluster
minikube start
- Buka minikube dashboard, disarankan untuk membuka minikube dashboard agar kamu lebih tahu cara kerja Kubernetes
minikube dashboard
#you will redirect to 127.0.0.1 with random port
- Membuat Deployment baru
kubectl create deployment hello-minikube --image=kicbase/echo-server:1.0
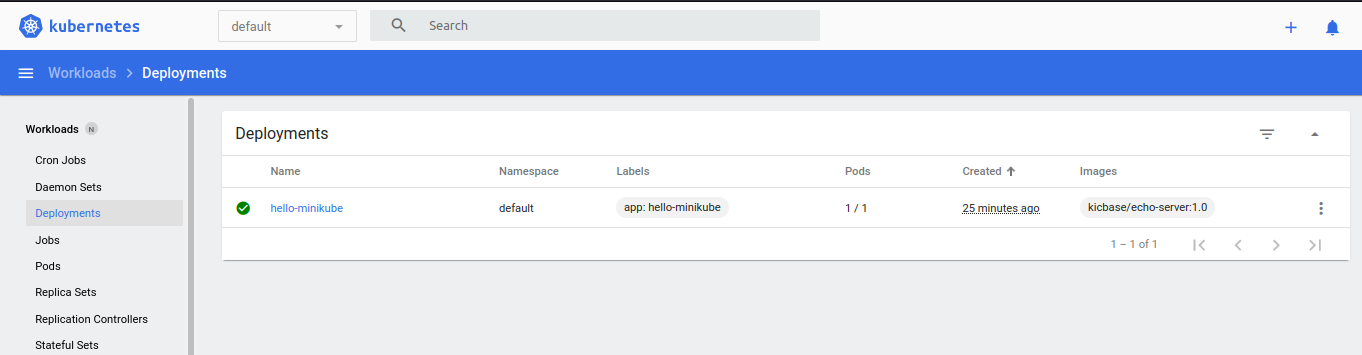
Minikube ‘hello-minikube’ Deployment
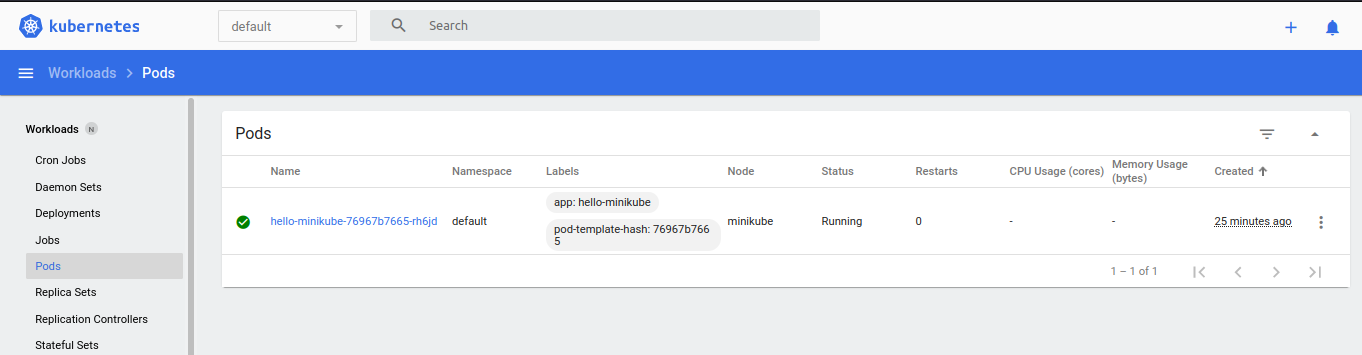
Pods ‘hello-minikube’
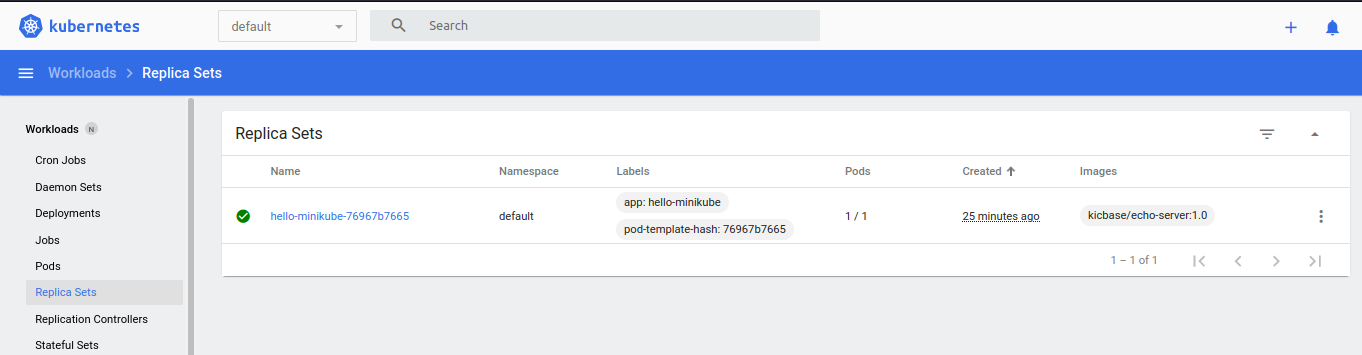
Replica Sets ‘hello-minikube’
Perintah Deployment selain membuat Deployment hello-minikube, perintah tersebut juga akan membuat Replica Set, Pods otomatis.
Sampai tahap ini kamu belum bisa mengakses Deployment hello-minikube, kamu harus meng-expose Deployment melalui Service
- Expose Deployment
hello-minikubedengan
kubectl expose deployment hello-minikube --type=NodePort --port=8080
#image kicbase/echo-service was run at port 8080 as a default
#It will create Service called 'hello-minikube'
Service masih belum bisa kamu akses juga sampai tahap ini. Lanjut ke tahap berikutnya
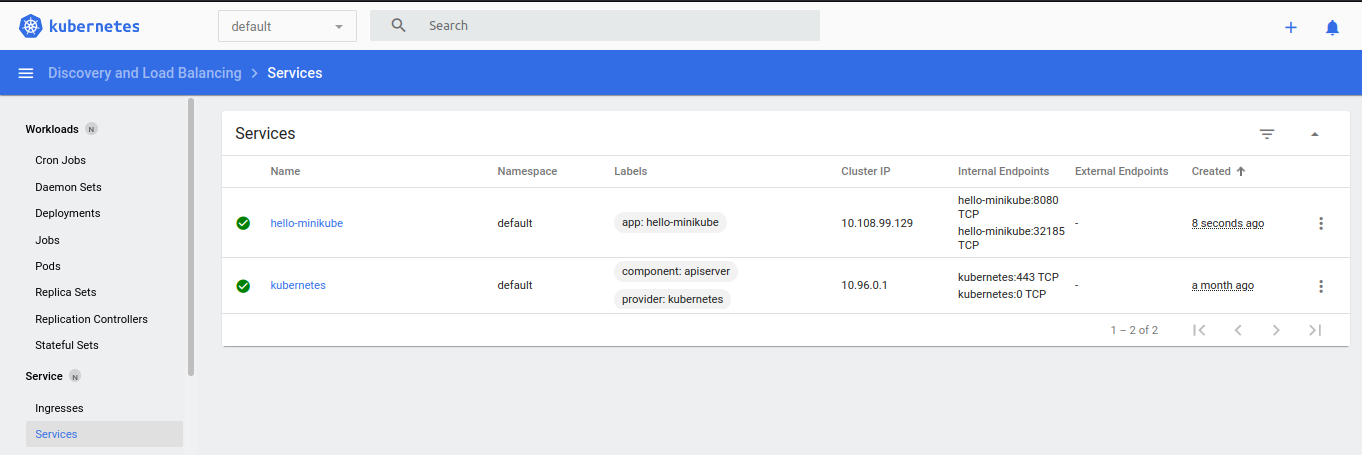
Service ‘hello-minikube’ Succesfully Created
- Buka service
hello-minikubedengan
minikube service hello-minikube

Akhirnya Bisa Akses ‘hello-minikube’ di Browser
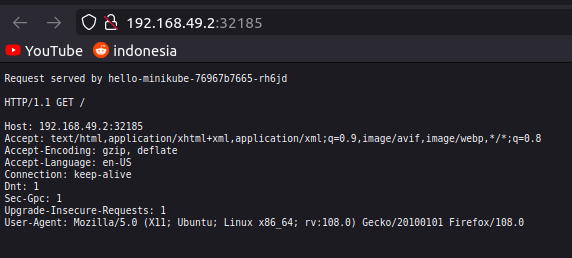
Melelahkan Ya..
Deploy App dengan File
Kamu bisa cek contoh Deployment via file lewat fitur edit Deployment, cuma memang agak ribet karena lengkap banget command nya.
Kita akan coba simple deploy App dengan file. Kita akan men-deploy aplikasi menggunakan image trafex/php-nginx
Note:
trafex/php-nginx running di port 8080
Default trafex/php-nginx akan membuka file php dengan isi
phpinfo();
Langsung ke tutorial
- Buat 1 file deployment-trafex.yml
apiVersion: apps/v1
kind: Deployment
metadata:
  name: trafex
  labels:
    app: trafex-label
spec:
  selector:
    matchLabels:
      app: trafex
  replicas: 1
  template:
    metadata:
      labels:
        app: trafex
    spec:
      containers:
      - name: trafex
        image: trafex/php-nginx:latest
        ports:
        - containerPort: 8080
Jalankan dengan kubectl apply -f deployment-trafex.yml. Dengan menjalankan ini minikube akan membuat Deployment, Jobs, Replica Sets
Perintah ini sama saja dengan perintah
kubectl create deployment trafex --image=trafex/php-nginx:latest
- Kita buat service nya, service-trafex.yml
apiVersion: v1
kind: Service
metadata:
  name: trafex
  labels:
    app: trafex
spec:
  ports:
    - port: 8080
      protocol: TCP
      targetPort: 8080
      nodePort: 31200
  selector:
    app:  trafex
  type: NodePor
Jalankan dengan kubectl apply -f service-trafex.yml.
Perintah ini setara dengan
kubectl expose deployment trafex --type=NodePort --port=8080
- Buka service
trafexdengan
minikube service trafex
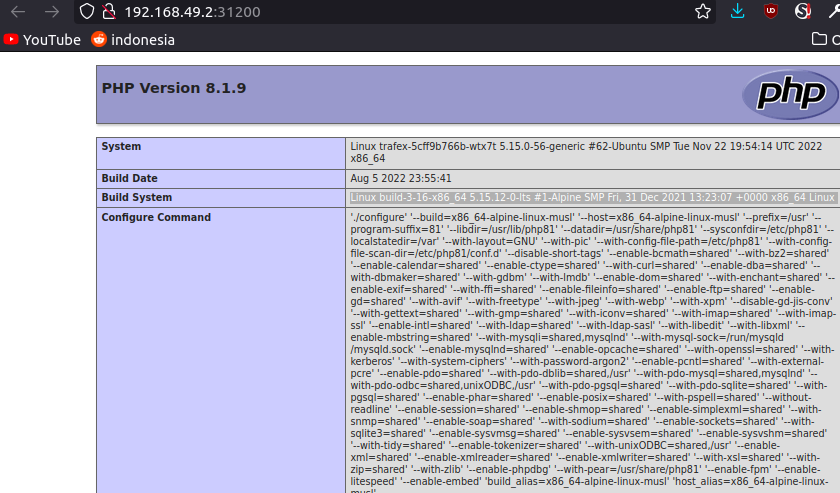
’trafex’ Deployment Sukses!
Jika kamu merasa tulisan ini bermanfaat & membantu kamu, kamu bisa berdonasi lewat saweria
If you feel this website help you, you can donate at saweria